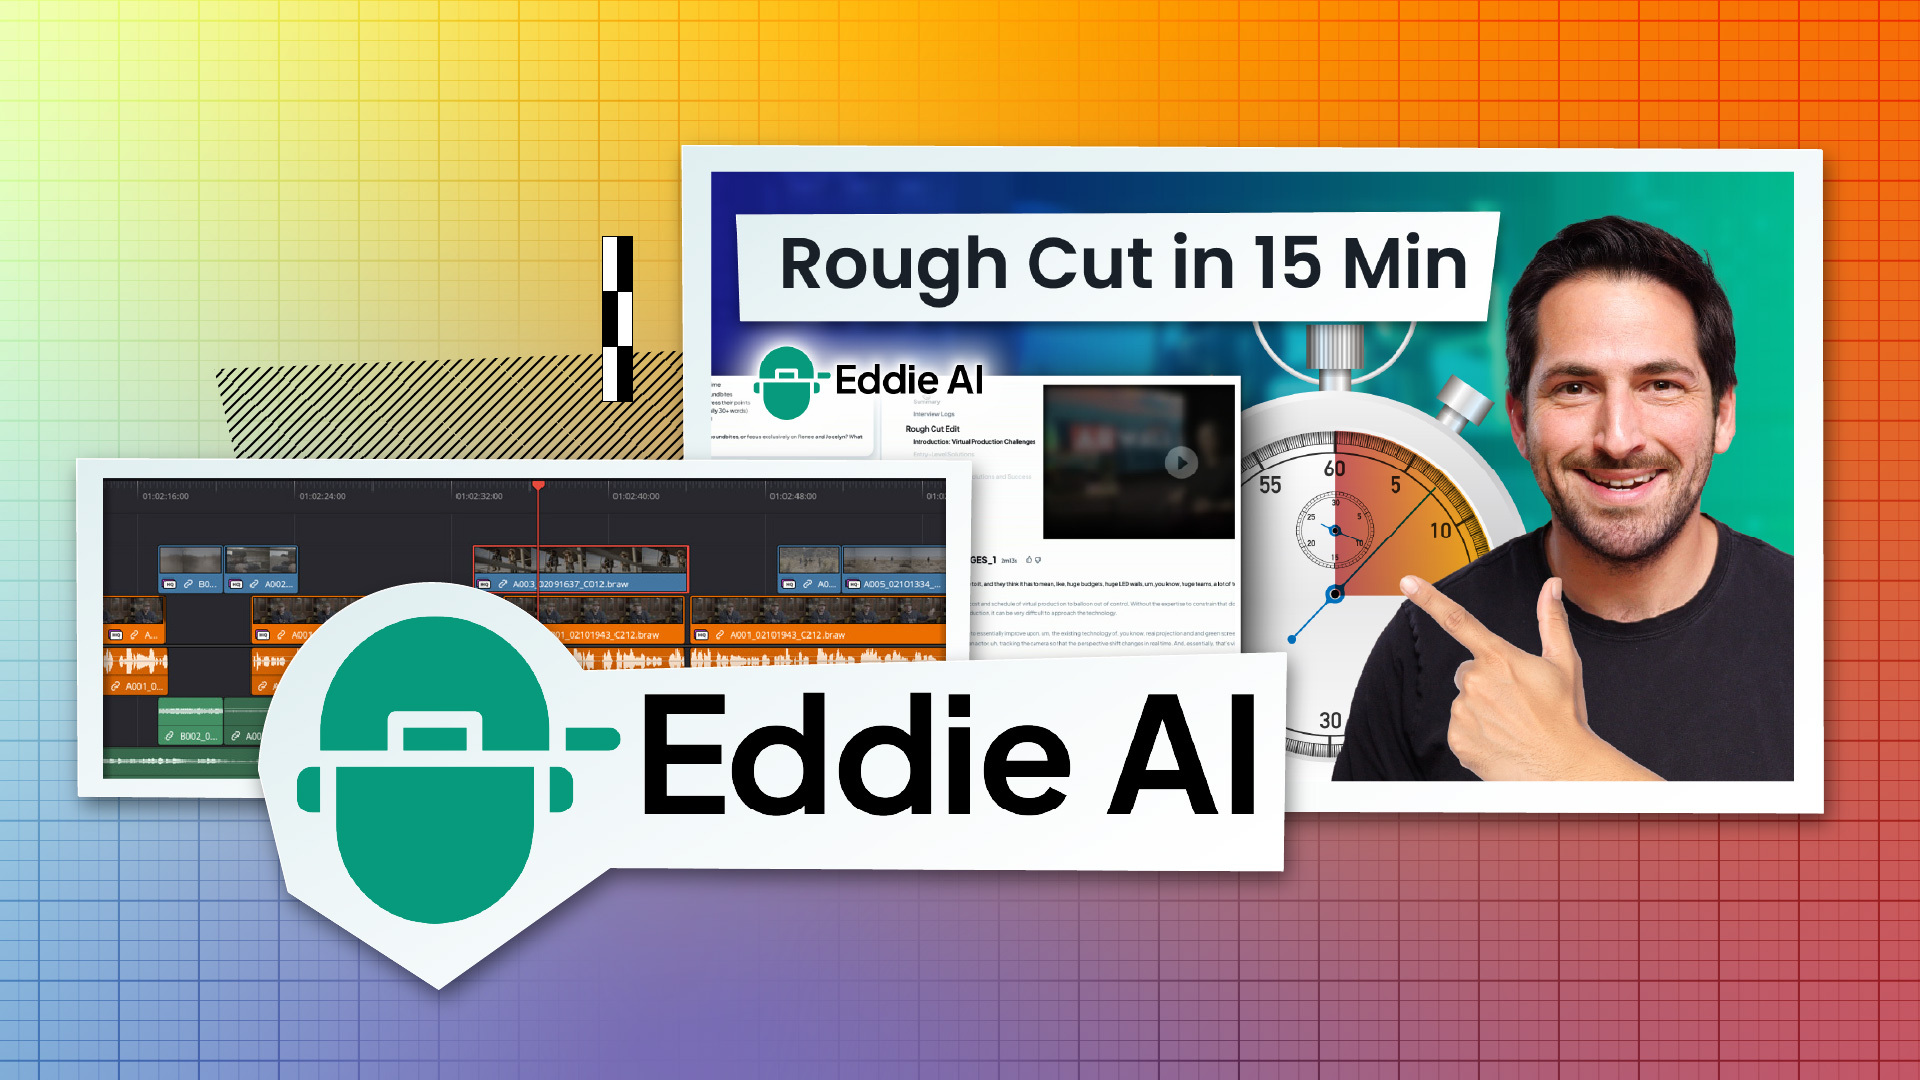
Timing depends on how many clips you have and how fast your machine exports. For the purpose of a true "15-minute run," the heavy transcoding step can vary, so you should plan accordingly. In my test I used a pre-processed project to keep the timer realistic for the actual editing phase.
Step 5: Use Eddie's chat interface to define structure and direction
Eddie surfaces a chat-style sidebar where you direct the AI. Tell it the target runtime and the story structure you want. This is where working knowledge of your interviews pays off — you should know the points you want to emphasize, but Eddie will find and surface the supporting soundbites.
Practical tips for this step:
Start with a target length (I tried 3 minutes for a short piece).
Provide a high-level direction: e.g., "Focus on virtual production challenges, then showcase entry-level, mid-level, and professional ARWall solutions."
If the AI suggests section durations that are too short (it often enforces ~1 minute minimum per section), either accept longer sections or merge/adjust sections.
In my run I asked Eddie to create four sections: intro, entry-level, mid-level, and pro — roughly one minute each. You can be flexible with runtime if you don't need an exact finish time.
Step 6: Let Eddie assemble section-by-section audio and soundbites
Eddie builds each section in minute-long chunks. You can choose an editing style:
Rapid cuts with short soundbites (half to one sentence)
Longer, more comprehensive soundbites (15–30+ words)
A hybrid mix (my test used a mixture)
Go through the sections interactively. Each section is produced, you review the proposed soundbites and sequence, then you either refine or finalize it. Eddie saves version history for each pass, so you can revert to earlier drafts if you prefer.
Think of Eddie as getting you about 80% of the way there — it's fantastic for the legwork, getting raw selections and structure into your system, while you remain the editor who shapes tone and craft.
Step 7: Fine-tune text, rearrange soundbites, and trim filler
One of Eddie's big improvements is an inline text editor that lets you:
Edit and remove stumbles, "ums", and repeated phrases before exporting.
Rearrange soundbites within a section to tighten narrative flow.
Delete redundant lines so they won't appear in the returned timeline.
This is hugely useful — instead of fixing micro issues after importing the rough cut into your NLE, you can tidy the text and ballot the best bites in Eddie. It speeds up your downstream polishing dramatically.
Step 8: Review the assembled full script and export back to your NLE
When you're happy, Eddie compiles the full script, optional YouTube metadata suggestions (title, description, chapters), and a timeline object that can be exported back to your NLE.
Choose Export → Send to Resolve (or Premiere/FCP XML).
Eddie will push a timeline into your existing project; it references your original multicam clips rather than adding duplicates.
The timeline includes an optional subtitle/caption track with Eddie's transcript.
Because the timeline references your original multicams, you avoid duplicate media in your project. That keeps things tidy and ensures the Eddie rough cut is ready for refinement in your native editing environment.
Step 9: Practical tips, limitations, and workflow refinements
Here are the workflow lessons I learned while testing Eddie with multicam RAW interviews:
Proxy step is necessary: Eddie uses your workstation to create H.264 proxies. This fixes previous issues importing RAW formats like Blackmagic RAW or RED without manual proxy creation.
Give clear direction: Eddie responds best when you give explicit structure and phrasing guidance in the chat (e.g., "Start the intro with 'It's very easy for virtual production costs to balloon out of control'").
Use the text editor: Remove filler and rearrange soundbites inside Eddie to save massive time in your NLE.
Versioning is your friend: Eddie keeps histories, so you can roll back if you liked a previous phrasing or sequence.
Current limitation — duplicate projects: Right now, if you want to make a different edit or another version of the same footage, Eddie reprocesses from scratch. They told me a duplicate-project feature is coming soon to address this.
Chat-based search (ChatGPT mode): Eddie added a mode that lets you query the footage conversationally to surface any soundbites that mention a topic (e.g., "show me everything about the Studio Box"). This is great for iterative edits or repackaging interviews into multiple videos.
Step 10: Final notes and recommended workflow
My recommended workflow for getting the fastest, cleanest rough cut with Eddie:
In your NLE, build multicam clips and set the primary video/audio angles.
Initialize the Eddie integration and let your workstation create proxies.
In Eddie, define the story outline and runtime, and pick an editing style.
Work section-by-section, using the inline editor to clean copy and rearrange soundbites.
Export the timeline back into your NLE, then do your craft edits, color, and mix.
This method gets you 80% of the way there quickly while keeping the final craft work in your hands. Eddie is a tool to accelerate sourcing, structure, and initial sequencing — not a replacement for the editor's creative choices.
Where to try Eddie and learn more
If you want to test this yourself, you can try Eddie for free. The integration works with the major NLEs and now includes multicam proxy export so you can bring RAW multicam projects into Eddie without laborious prep.
Final reminder: clear direction and familiarity with your interview material will greatly improve results. Eddie does the legwork — you steer the story.